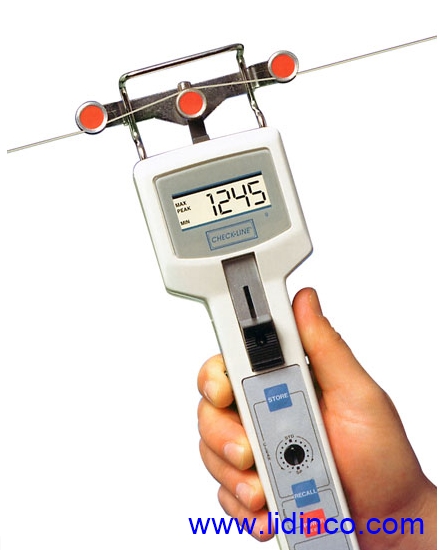
Digital Tension meter DTMB
Hotline: +84 906 988 447
Head Office: Ho Chi Minh City
- Tel: +84 2839 778 269 / 3601 6797
- Email: sales@lidinco.com
- Add: 487 Cong Hoa Street, Tan Binh Ward, Ho Chi Minh City, Vietnam
Office: Bac Ninh City
- Tel: +84 222 730 0180
- Email: bn@lidinco.com
- Add: 184 Binh Than Street, Vo Cuong Ward, Bac Ninh, Vietnam
-
 Technical Counseling
100% Free
-
 Free Shipping
For 3.000.000vnd Order
Specification
Data is being updated
Features
- Precision Strain Gauge Sensing for Highest Accuracy
A precision strain-gauge sensing system accurately measures the force on the middle sensing roller. This is converted into a highly accurate tension measurement using proprietary calibration formulas which correct for material diameters, rigidities, gravity and other critical parameters. - Thickness Compensator Automatically Adjusts Calibration
The microprocessor automatically fine-tunes the calibration to correct for different material diameters permitting a single DTMB or DTMX to be used on a wide range of process materials without sacrificing precision or accuracy. - Field Adjustment for Fine Tuning of the Calibration
Increase or decrease the displayed readings in 1.5% increments or select Special Calibration (SP). - High-Speed Measurement Captures Max, Min & Peak Tension Values
Tensions are sampled 62 times per second and averaged over a user selected interval of 0.5, 1, 2 or 4 seconds. The maximum, minimum and peak values are stored for recall to the display. - Precision V-Grooved Rollers for Line Speeds Up to 5,000 m/min
Ball-bearing mounted, V-grooved rollers are hard coated aluminum for speeds up to 2,000 m/min. Optional High-Speed Rollers (U) are offered for 5,000 m/min. Hardened steel, ceramic and plastic rollers are also available. - Rugged Aluminum Housing For Long-Term Durability
Die-cast aluminum housing and surface-mount electronics insure trouble free operation in the toughest environments.
DIP switch for adjustment by operator e. g. display update rate


• Saving MIN, MAX and PEAK values during a user-selected period. These values can be recalled at the display.
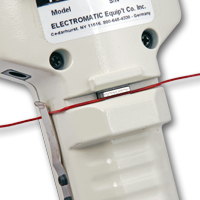
Material thickness compensator: For better accuracy the material to be measured or a similar material with the same diameter should be inserted Thickness Compensator Automatically Adjusts Calibration The microprocessor automatically fine-tunes the calibration to correct for different material diameters permitting a single DTMB or DTMX to be used on a wide range of process materials without sacrificing precision or accuracy.
Tension Ranges
| Model | Range | Outer Roller Spacing c:c | Application Guidelines (Textiles) | Application Guidelines (Wire) |
|---|---|---|---|---|
| DTMB-200 | 0.1-200.0 g | 38 mm | 1000 Denier | 0.15 mm (max) |
| DTMB-500 | 0.1-500.0 g | 38 mm | 0.05-0.25mm | 0.05-0.25 mm |
| DTMB-1K | 50 - 1000 g | 38 mm | 0.10 - 0.40 mm | .10 - 0.25 mm |
| DTMB-2K | 200 - 2000 g | 38 mm | 0.30 - 0.70 mm | 0.30 - 0.70 mm |
| DTMB-2.5KB | 250 - 2500 g | 100 mm | 0.30 - 0.70 mm | 0.30 - 0.70 mm |
| DTMB-5KB | 500 - 5000 g | 100 mm | 0.50 - 1.20 mm | 0.40 - 1.00 mm |
| DTMB-10KB | 1.00 - 10.00 kg | 100 mm | 0.70 - 1.40 mm | 0.70 - 1.20 mm |
| DTMBL-20KB* | 2.00 - 20.00 kg | 200 mm | 1.00 - 2.00 mm | 1.50 - 1.70 mm |
| DTMBL-50KB* | 5.00 - 50.00 kg | 200 mm | 1.50 - 3.00 mm | 1.70 - 3.00 mm |
Notes
1. Application Guidelines for Textiles refer specifically to nylon monofilament.
2. Application Guidelines for Wire refer to soft annealed copper wire
3. DTMB models are calibrated with monofilaments only. If customer sample varies greatly in diameter or rigidity, special calibration with customer sample is recommended.
4. Calibration in ounces/pounds and cN/daN is optionally available.
Dimensions
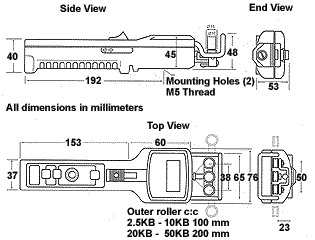
Calibration
| Model | Tension Range g | Factory Calibration Material PA*** | Material thickness compensator |
| DTMB-200 | 0.1 - 200.0 | 0.12 mm Ø | |
| DTMB-500 | 0.1 - 500.0 | 0.12 + 0.20 mm Ø | Built-In |
| DTMB-1K | 50 - 1000 | 0.20 + 0.40 mm Ø | Built-In |
| DTMB-2K | 200 - 2000 | 0.40 + 0.70 mm Ø | Built-In |
| DTMB-2.5KB | 250 - 2500 | 0.40 + 0.70 mm Ø | Built-In |
| DTMB-5KB | 500 - 5000 | 0.60 + 1.20 mm Ø | Built-In |
| DTMB-10KB | 1.00 - 10.00 kg | 0.80 + 1.40 mm Ø | Built-In |
| DTMBL-20KB | 2.00 - 20.00 kg | 1.20 + 1.80 mm Ø | |
| DTMBL-50KB | 5.00 - 50.00 kg | steel rope 1.5mm Ø (7x7x0.2) | |
| *** Suitable for 95% of applications | |||
| Calibration to customized material: If process material differs significantly from the factory calibration material in diameter, rigidity or shape, special calibration using customer supplied samples is recommended. For this purpose a material sample of about 5 m should be supplied. | |||
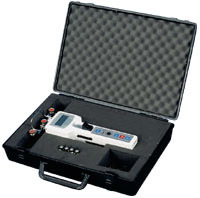
Complete Kit
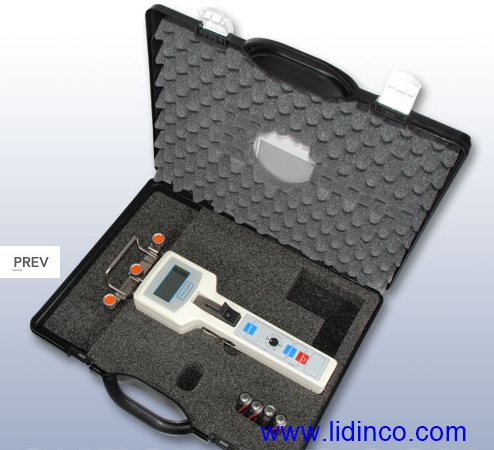
The DTMB complete kit includes the tension meter, four (4) AA batteries and operating instruction manual all supplied in a foam fitted carrying case.
Specifications
| Accuracy* | ± 0.5% Full Scale, ± 1 digit (10 - 90% of Full Scale) ± 3.0% Full Scale, ± 1 digit (Rest of range & for other calibration materials) |
| Measuring Frequency | 16 m/sec (62.5 samples/sec) |
| Deflection of Sensing Roller | 0.2 mm (maximum) |
| Overload Capacity | 200% of Full Scale |
| Display | 4-Digit LCD, 12 mm high |
| Display Update Rate | 0.5, 1.0, 2.0 or 4.0 seconds, dip-switch selectable |
| Standard Memory | Last, maximum, minimum and peak |
| Field Calibration Adjustment | ± 7 steps, 1.5% per step |
| Battery Type | Four (4) 1.5 V AA (included) |
| Battery Life | 20 hours, continuous use |
| Auto Power Off | After 2 minutes of non-use |
| Roller Material | Hard Coated (Standard) Hardened Steel (ST) (optional) Ceramic (CE) (optional) Plastic (PL) (optional) |
| Maximum Speed | 2000 m/min (standard) 2500 m/min (U) |
| Housing Material | Die-cast Aluminum |
| Weight | 1.43 lbs. (650 g) |
| Operating Temperature | 32 to 132 °F (0 to 45 °C) |
| Warranty | One year |
| Note | * Quoted accuracy can only be gauranteed on standard factory calibration materials. Because of the wide variety of customer samples, accuracy may exceed standard tolerances. |
Accessories

Information
-
Measure Application:
-
Accuracy:
-
Dải lực đo:
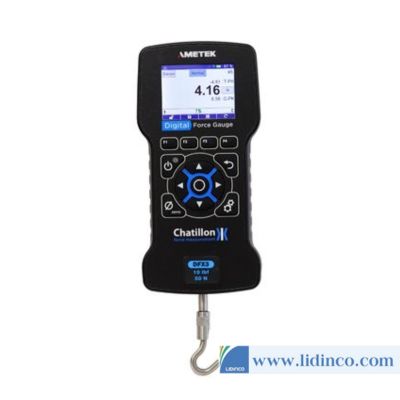
Digital Force Gauges Ametek DFX3-010 / DFX3-010-NIST
Contact

Information
-
Accuracy:
-
Measure Application:
-
Force Range:
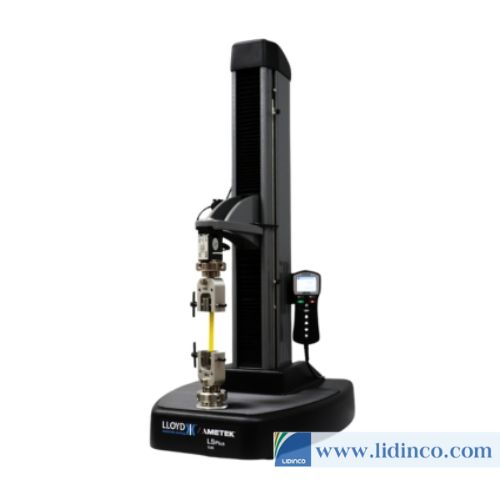
Universal Test Machines Ametek LS5Plus 5kN
Contact

Information
-
Accuracy:
-
Measure Application:
-
Force Range:
Universal Test Machines Ametek LS2.5Plus 2500N
Contact

Information
-
Accuracy:
-
Measure Application:
-
Force Range:
Universal Test Machines Ametek LS Plus Series 1-5kN
Contact

Information
-
Accuracy:
-
Measure Application:
-
Force Range:
Universal Test Machines Ametek CS2+1100 5kN
Contact
Reviews & Comments
Please login to write review!

